

How to Make Right-Sized Corrugated Shipping Boxes | Krexil
How to Make a Shipping Box That Fits Perfectly
by Jim Lewis - Founder of Krexil
Learning how to make a shipping box essentially involves four key stages: designing a template, selecting the right materials, cutting and scoring the cardboard, and finally, assembling the box. Once you get the hang of this, you have total control over your packaging, making sure every single item gets a perfect, protective home for its journey.
Why Custom Shipping Boxes Are a Smarter Choice
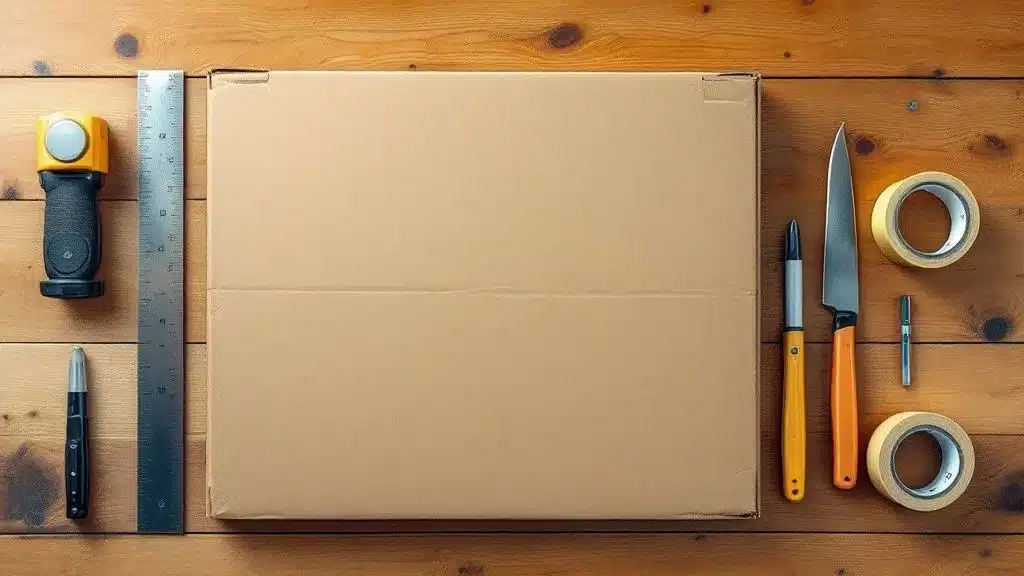
Before we jump into the how-to, it's worth taking a moment to appreciate why making your own boxes is such a game-changer for a business. Standard, off-the-shelf boxes almost never fit your products just right. That mismatch forces you into compromises that hurt product fit.
You either grab a box that's too big—forcing you to buy and stuff it with void fill—or you cram your product into one that's too snug, raising the risk of damage in transit. When you make your own boxes, all that guesswork disappears.
Key Advantages of Custom-Sized Boxes
Crafting boxes tailored specifically to your products is a strategic move.
- Reduced Material Waste: A box that fits perfectly means you use less cardboard and less void-fill like bubble wrap or packing peanuts. That's a direct cut to your per-shipment costs.
- Improved Product Protection: When an item fits properly, it can't shift around and get damaged. That translates to fewer returns and happier customers.
- Enhanced Workflow Efficiency: Having the exact right size box ready to go makes the packing process smoother. Your team can pack orders faster and more consistently without wasting time looking for the "least bad" option.
By taking control of your box creation, you're not just making a container; you're designing a better shipping experience from the ground up. This enhances your brand's professionalism and makes a positive first impression the moment the package arrives.
Selecting the Right Materials and Tools
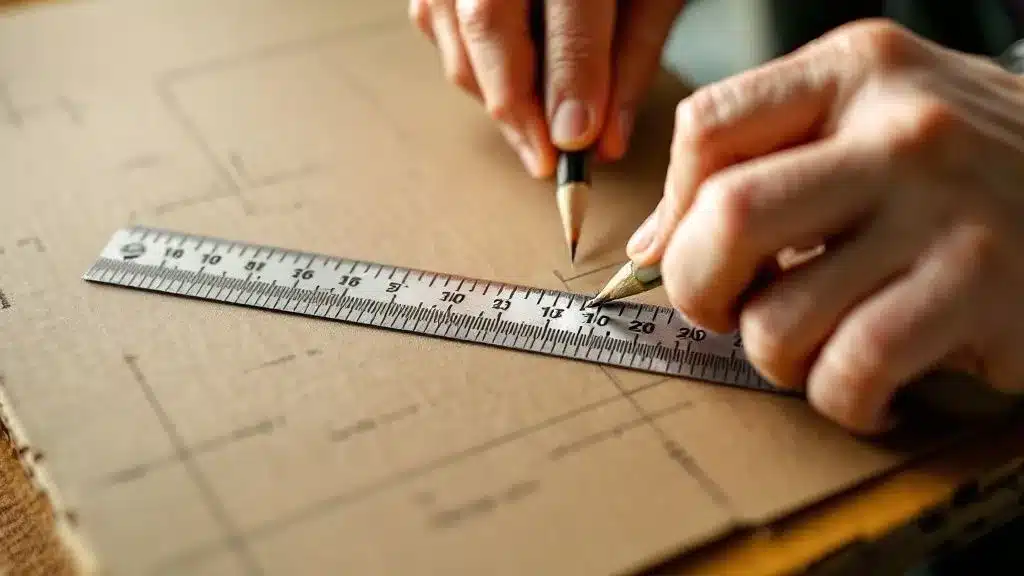
Any solid shipping box starts with a good foundation. The materials and tools you choose will make or break your final product, impacting everything from strength to its professional look. The undisputed champion here is corrugated cardboard, often called containerboard. Always start with fresh, high-quality sheets to give your box the best possible structural integrity.
Corrugated cardboard isn't a one-size-fits-all deal. It comes in different thicknesses and strengths, so picking the right one is your first critical decision.
- Single-Wall Cardboard: This is what most people are familiar with and it's perfect for most products. You'll want to look for 'C-flute' cardboard, which hits that sweet spot between cushioning and stacking strength for most everyday shipping.
- Double-Wall Cardboard: When you're shipping anything heavy, fragile, or valuable, this is the way to go. It's built with two layers of the wavy fluting, which gives it a massive boost in rigidity and protection against the bumps and drops of transit.
Gathering Your Essential Tools
Once you've got your cardboard, you'll need a few trusty tools to get clean, precise cuts and folds. For anyone starting out, a simple manual setup is all it takes. You'll need a sharp utility knife (with plenty of extra blades), a sturdy metal straightedge to keep your cuts true, a self-healing cutting mat to save your tabletop, and a good measuring tape.
As your volume picks up, cutting every box by hand will quickly become a major bottleneck. This is where upgrading to more efficient equipment like a cutter designed for corrugated sheets comes in. It simplifies the process of making custom size boxes.
Designing a Flawless Box Template

This is where the magic happens—or where it all falls apart. A layout that's off can lead to a box that won't fold right, wasting your time and material. Trust me, sketching by hand or just "winging it" is a surefire way to end up with a pile of unusable cardboard.
To take the guesswork out of the equation, you really need a dedicated tool. That's why we built our free corrugated box designer. Just plug in your product's dimensions, and it generates a perfect RSC layout every time - a layout optimized for hand cutting.
From Dimensions to a Professional Layout
The whole process is incredibly straightforward. You just need your product's precise length, width, and height. Pop those numbers into the RSC box designer, and it spits out a print-ready template instantly. This ensures every panel and flap is measured and proportioned correctly for a standard RSC (Regular Slotted Container) box.
The tool handles all the complex calculations for you, eliminating those tiny human errors that can derail the process.
Here is what the interface looks like when you input your product dimensions to generate a custom box template.
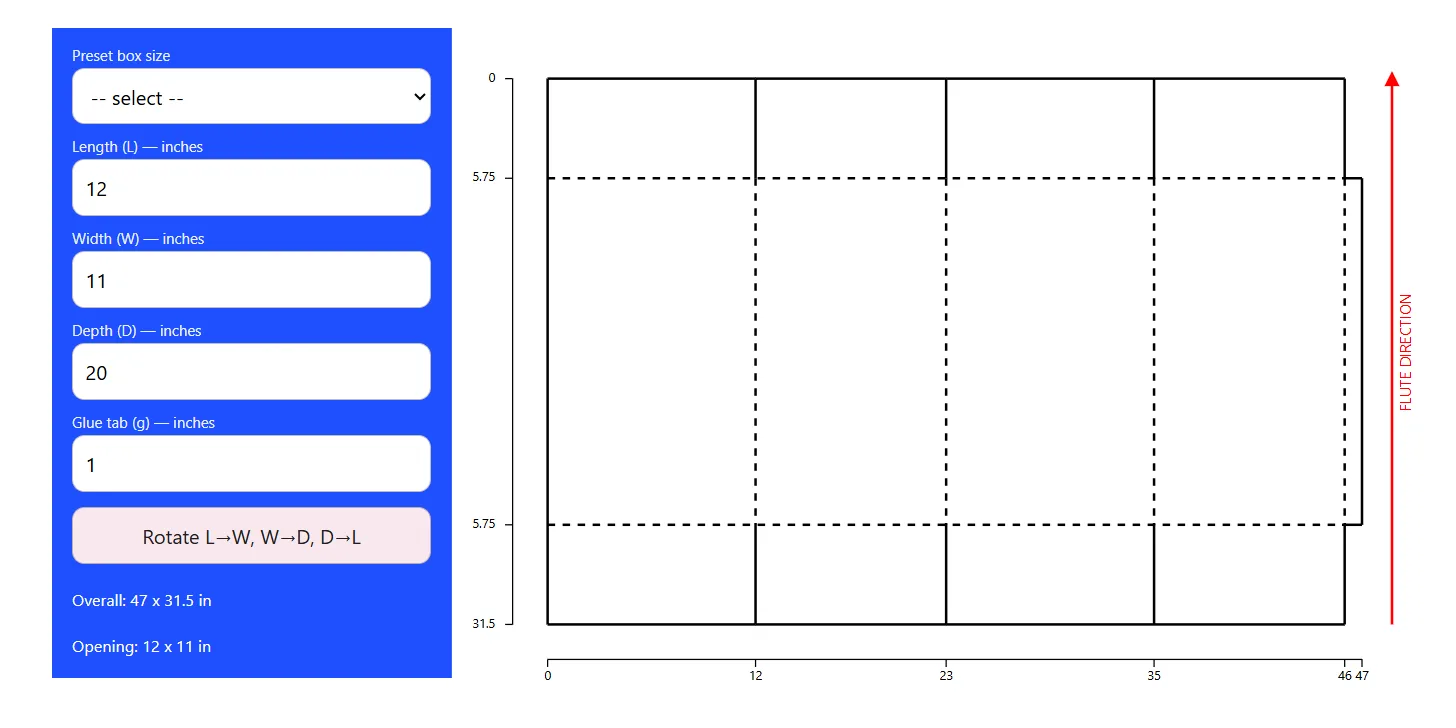
As you can see, it's as simple as entering your numbers to get an immediate visual of your flattened box layout.
Understanding Your Box Template
Once you have your design, you need to know how to read it. Your template will have two distinct types of lines, and the difference between them is fundamental to getting a sturdy, professional-looking box.
- Solid Lines: These are your cut lines. You'll cut completely through the corrugated sheet along every solid line.
- Dashed Lines: These are your score lines, also known as fold lines. For these, you only score the material to create a clean fold.
Getting the distinction between cutting and scoring right is non-negotiable. Confusing the two is the most common mistake that leads to a weak or unusable box. A proper score creates a perfect hinge, while a cut compromises the box's structural integrity entirely. Using a reliable template makes this distinction clear from the start.
Mastering the Box Assembly Process
With your template printed and materials in hand, it's time to bring your custom shipping box to life. This is where the real craft comes in. Turning a flat sheet of corrugated cardboard into a sturdy, three-dimensional box is all about precision and technique, from the first cut to the final fold.
First, you'll want to place marks or pin holes at the appropriate points along all 4 edges. Next, use a straightedge across pairs of marks vertically and horizontally, scoring each line. It's OK to run the scores even over the cut lines. The idea behind scoring isn't to cut through the cardboard, but to create a perfect hinge for a clean fold. Run a dull object gently along the straightedge with just enough pressure to create a dimple. This controlled scoring is the secret to getting those crisp, professional-looking edges.
Then cut along the cut lines with a sharp utility knife and good pressure to make clean, straight cuts all the way through the material. A fresh blade is your best friend here; a dull one will just tear the cardboard instead of slicing it, which can weaken the box's final structure.
Folding the box
With all your cuts and scores done, you can start the folding sequence for your RSC box. Begin by folding up all four side panels along the scored lines. This visual guide shows the final touches for securing and labeling your newly assembled box.
Securing the Seams for a Professional Finish
The last major step is securing the box's main seam, where the "glue tab" overlaps the opposite side panel. This joint is critical for the box's overall integrity. You have two solid options for this: packing tape or hot melt glue.
To help you decide which method is best for your project, here's a quick comparison of the two.
Choosing Between Tape and Glue for Box Assembly
Feature | Packing Tape | Hot Melt Glue |
|---|---|---|
Speed | Fast and straightforward to apply for quick assembly. | Requires a glue gun to heat up but provides a rapid, strong bond once applied. |
Strength | Good for most general applications, but can lose adhesion in extreme heat or cold. | Creates a strong, permanent bond that reinforces the joint and holds up well. |
Appearance | Visible on the outside of the box, which can detract from a clean look. | Hidden within the seam for a much cleaner, more professional finish. |
Ultimately, your choice between tape and glue will likely come down to balancing speed with strength and appearance. For lower-volume jobs or when you just need to get things done quickly, tape is perfectly practical. But for a more durable and polished finish that really enhances the unboxing experience, hot melt glue is the winner.
Scaling Up Your Custom Box Production
When you're just starting out, knocking out a few custom boxes by hand is no big deal. But once your volume increases, using simple hand tools quickly becomes cumbersome. It's at this point you have to seriously think about how to make a shipping box more efficiently.
This is where a device designed exactly for making custom boxes comes into play. Making this switch is about more than just speed—it's about consistency. A device designed for cutting corrugated sheets delivers a level of precision that's almost impossible to get by hand. And the process is easier too.
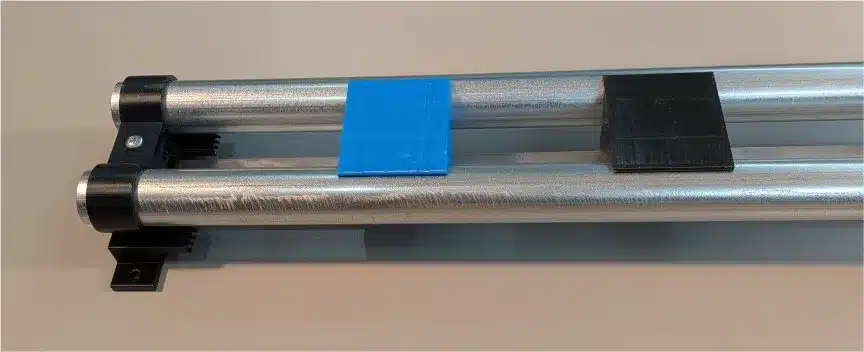
This simple bit of automation cleans up your workflow, cuts down on material handling, and reduces the waste that comes from inevitable manual errors. Our corrugated cutters are built for this exact scenario, helping businesses like yours bring their packaging operations in-house and streamline the whole process.
Investing in the right tools saves time and makes the process simpler and easier.
Find more helpful guides below:Your Guide to the Packaging Tape Gun Dispenser
A Guide to Essential Box Packing Supplies
FAQs About Making Your Own Boxes
When you first dive into making your own shipping boxes, a few questions always pop up. Let's tackle some of the most common ones.
What's the Best Cardboard for Shipping Boxes?
For most items you'll be shipping, your go-to material should be single-wall C-flute corrugated cardboard. It hits the sweet spot between strength, cushioning, and cost.
However, if you're dealing with anything heavy or particularly fragile, you'll want to step it up. A double-wall cardboard like BC-flute gives you that extra layer of rigidity and protection you need to ship with confidence.
How Can I Be Sure My Box Is Strong Enough?
A sturdy, reliable box comes down to three key things: the right material, a smart design, and clean assembly.
First, always start with fresh, undamaged corrugated sheets. From there, use a proven design where the flaps overlap correctly, like the RSC (Regular Slotted Container). Finally, secure every seam with high-quality packing tape or glue. For heavier loads, always grab that double-wall board and make sure the contents fit snugly to prevent them from sliding around.
The easiest way to get a strong, professional-grade design is to let a tool do the heavy lifting. An online generator takes all the guesswork out of the equation and gives you a perfect template every single time. You can try our free box layout designer and get an RSC layout in just a few seconds.
Krexil, we build machines that empower businesses to streamline their workflows and reduce material waste. Our corrugated sheet cutter simplifies the process of making professional-looking boxes on demand. And you won't need to order 25 or 100 boxes each time you need a special size, saving time and storage space. Learn more about our solutions at https://krexil.com.